Customfields are great things, if you consider that with Customfields you can make almost anything out of the boring Joomla! articles... What? You haven't dealt with Customfields yet? Oouu! Then it is really high time, after all, there are the things for years!
Our Joomla extensions take advantage of the additional possibilities that the Joomla! CMS offers us with Customfields every day. Extensions like the Exposer and now also the WidgetsBox with the support for structured content allow you to make more out of your content than just "simple articles". Your article can be a product, a FAQ post, a location, a sports team, a musician, ... The possibilities are endless - thanks to Customfields.
Digression
Customfields allow you to create additional fields of different types for your articles. For example, you can define that all articles of the category "Teams" have an additional field of the type textarea in which you can enter the stadium address. Or you publish books on your site and every article of the category "Books" contains the additional text field "ISBN". You can find more basic information here: https://docs.joomla.org/J3.x:Adding_custom_fields.
1 | Create a Fieldgroup
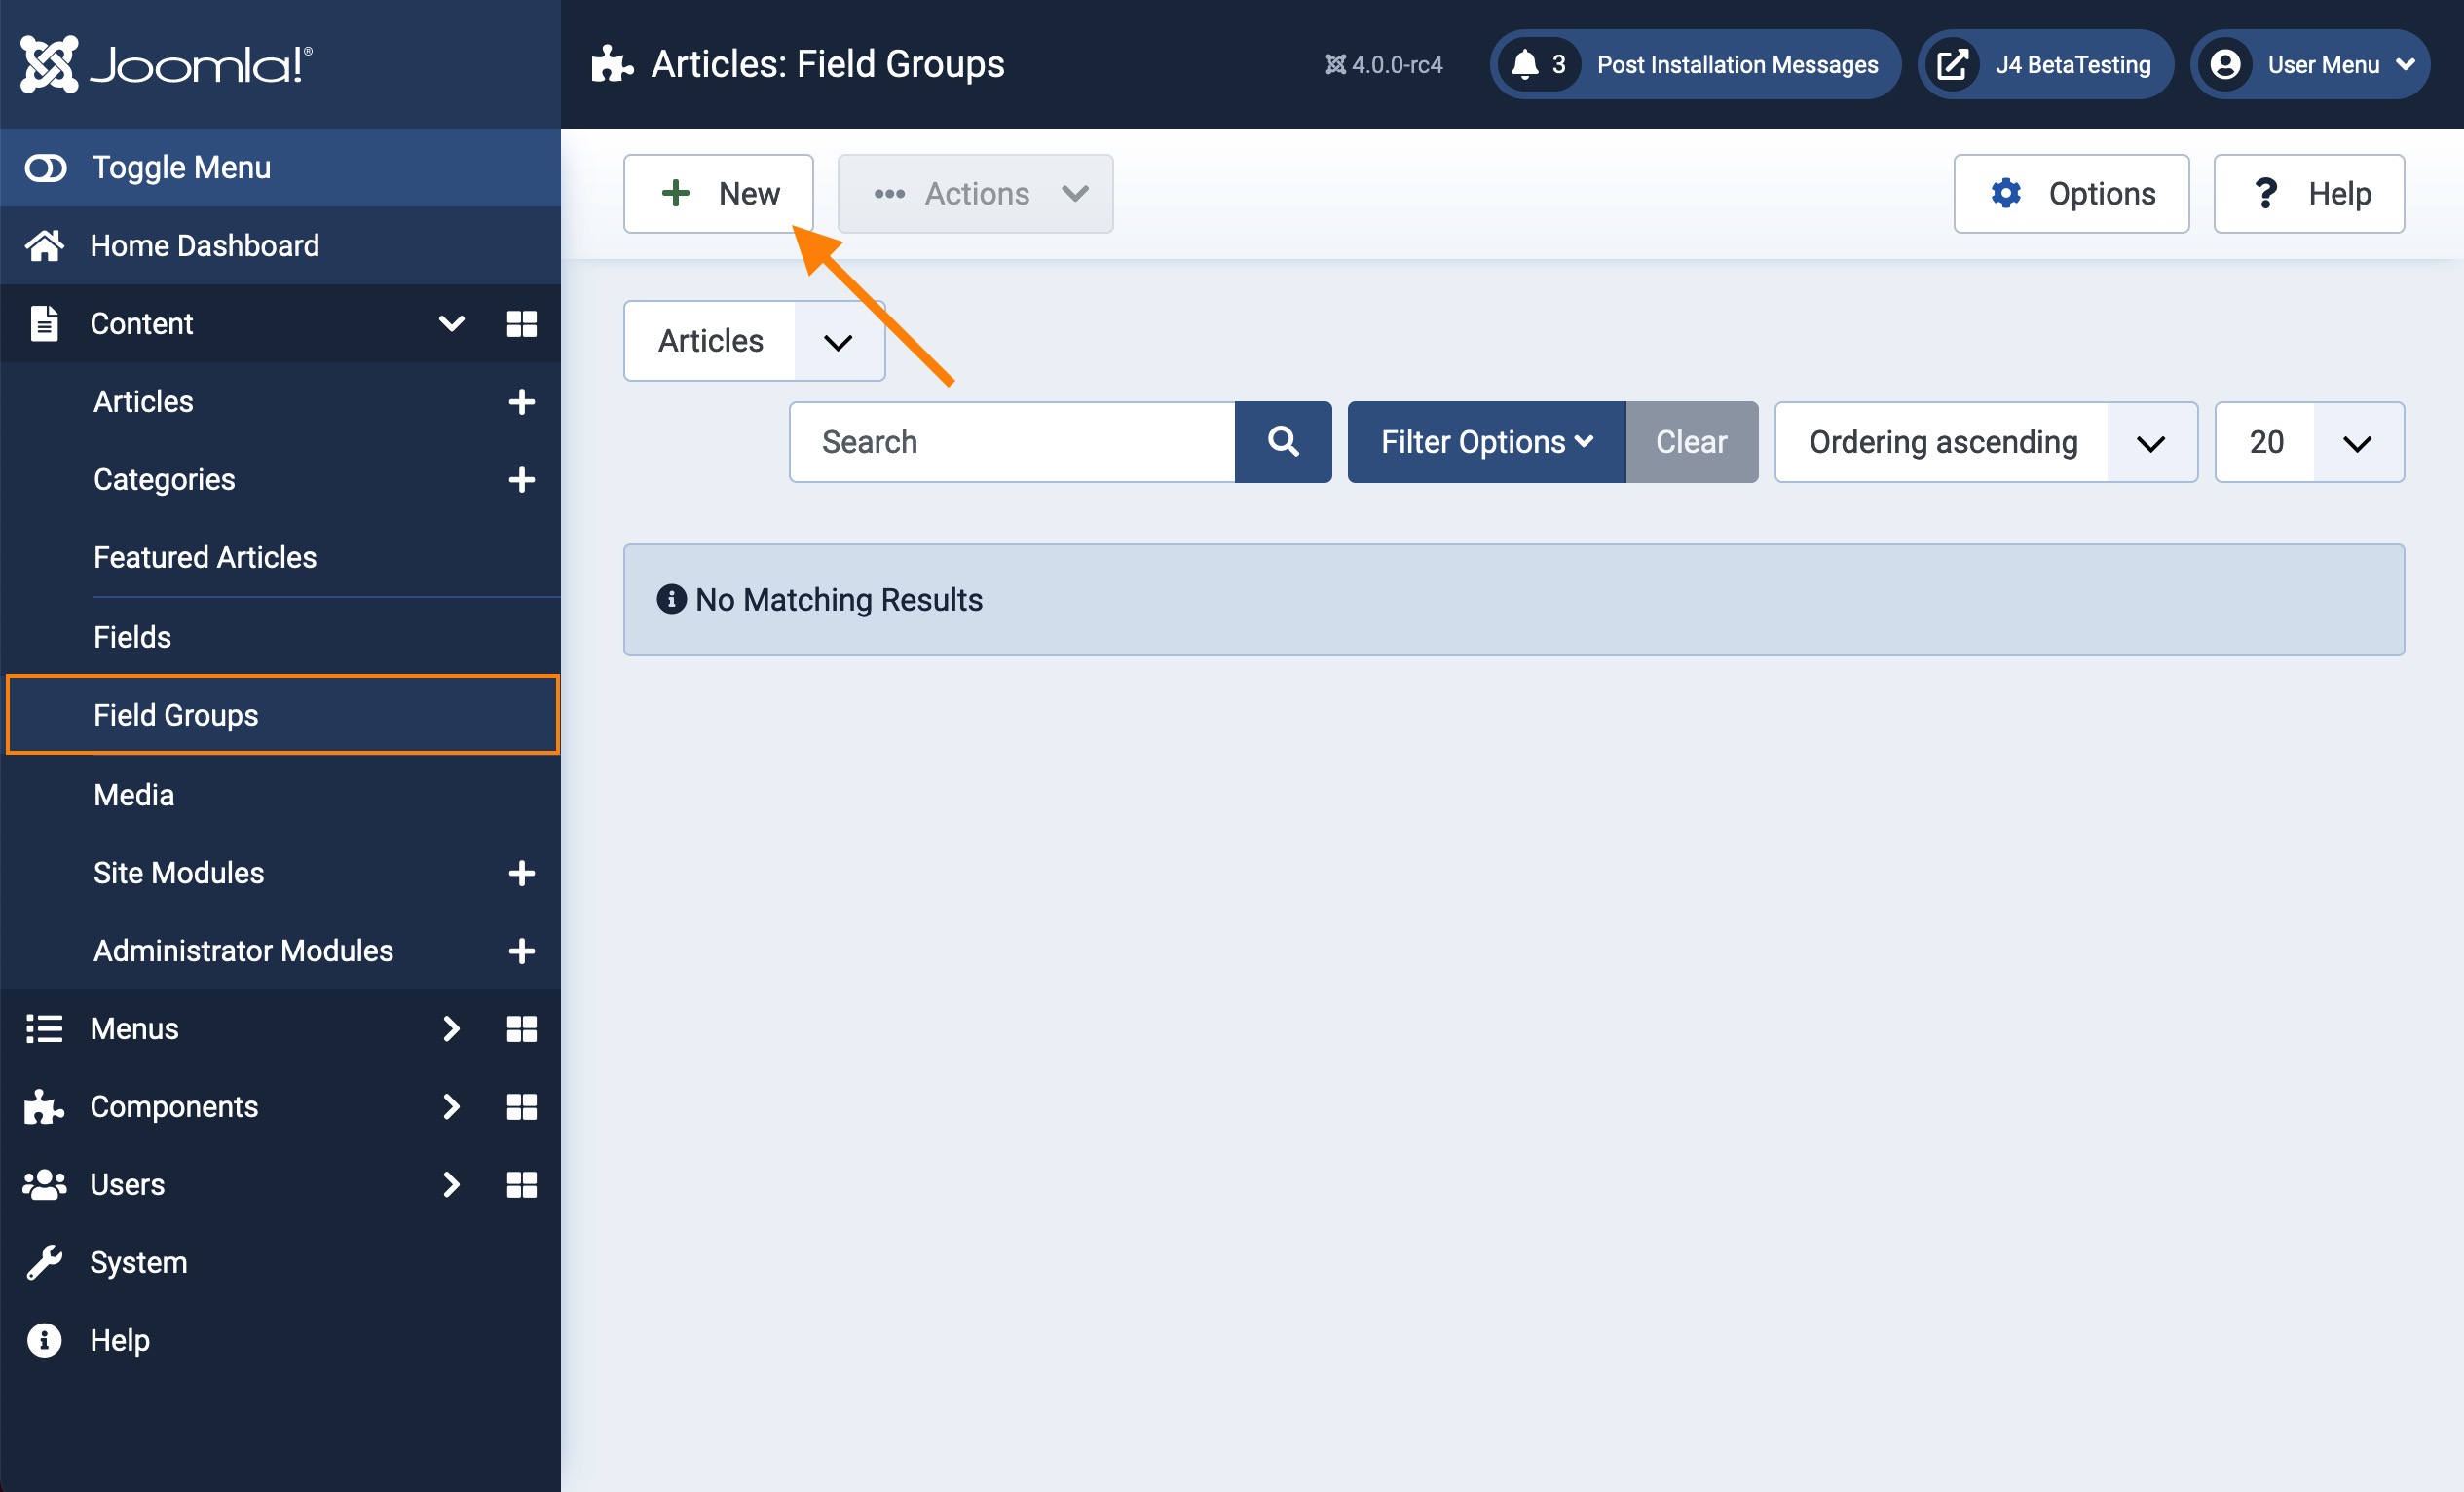
Field groups group fields (wow thanks for that insight - 5 stars for this tutorial...). But it was and probably the best way to paraphrase it. A field group is displayed in the article edit screen in the form of its own tab. But only if the field group contains at least one field defined for this category. Fields that are not assigned to a field group are simply displayed together in the "Fields" tab in the article edit mask. You don't control via field groups in which article category the group is displayed but only via the fields, more about that later. Think of field groups as folders that contain your fields. So let's get started. From the main menu we navigate to the field groups section (Content --> Field Groups).
In our example we now create a field group with the title "Software Application Fieldgroup" via the button in the upper left corner. The title can be chosen freely, but should be kept as short as possible, because a tab with this title will be generated in the article edit mask and yes, if there are several fieldgroups defined, it might get confusing... The addition "Fieldgroup" I have chosen only so that one can see later rather what one is.

2 | Create First Field
Now that we have created the field group, let's create the first field. The goal is that this field is displayed in the previously created field group. Let's switch to the "Fields" overview (main menu via Content --> Fields). Here we create a new field using the button in the upper left corner. We call it "Operating Systems". The field should allow a multiple selection of given values. For this we use the type "Checkboxes". At the bottom of the General Tab we can now add the default options. For this I create three options "Joomla 2.x , Joomla 3.x, Joomla 4.x" and assign each the value j2,j3,j4. The value is the key that is stored. The text will be output later in the frontend.
If we now Publish & Save the field it will now be available to us when we edit or create an article. You are welcome to test this. save the field, switch to the article editor and look at the tab "Fields", I'll wait here until then.
Well, back again? Good! - After all, we created this great field group, why don't we use it? Go back to the field edit view. In the right column, below the status, you will see two relevant options for this. One is the "Field Group" option, this defines which group this field will be assigned to. A field can only be assigned to one group at a time. If we select our "Software Application Fieldgroup", the field will be displayed in the corresponding tab.
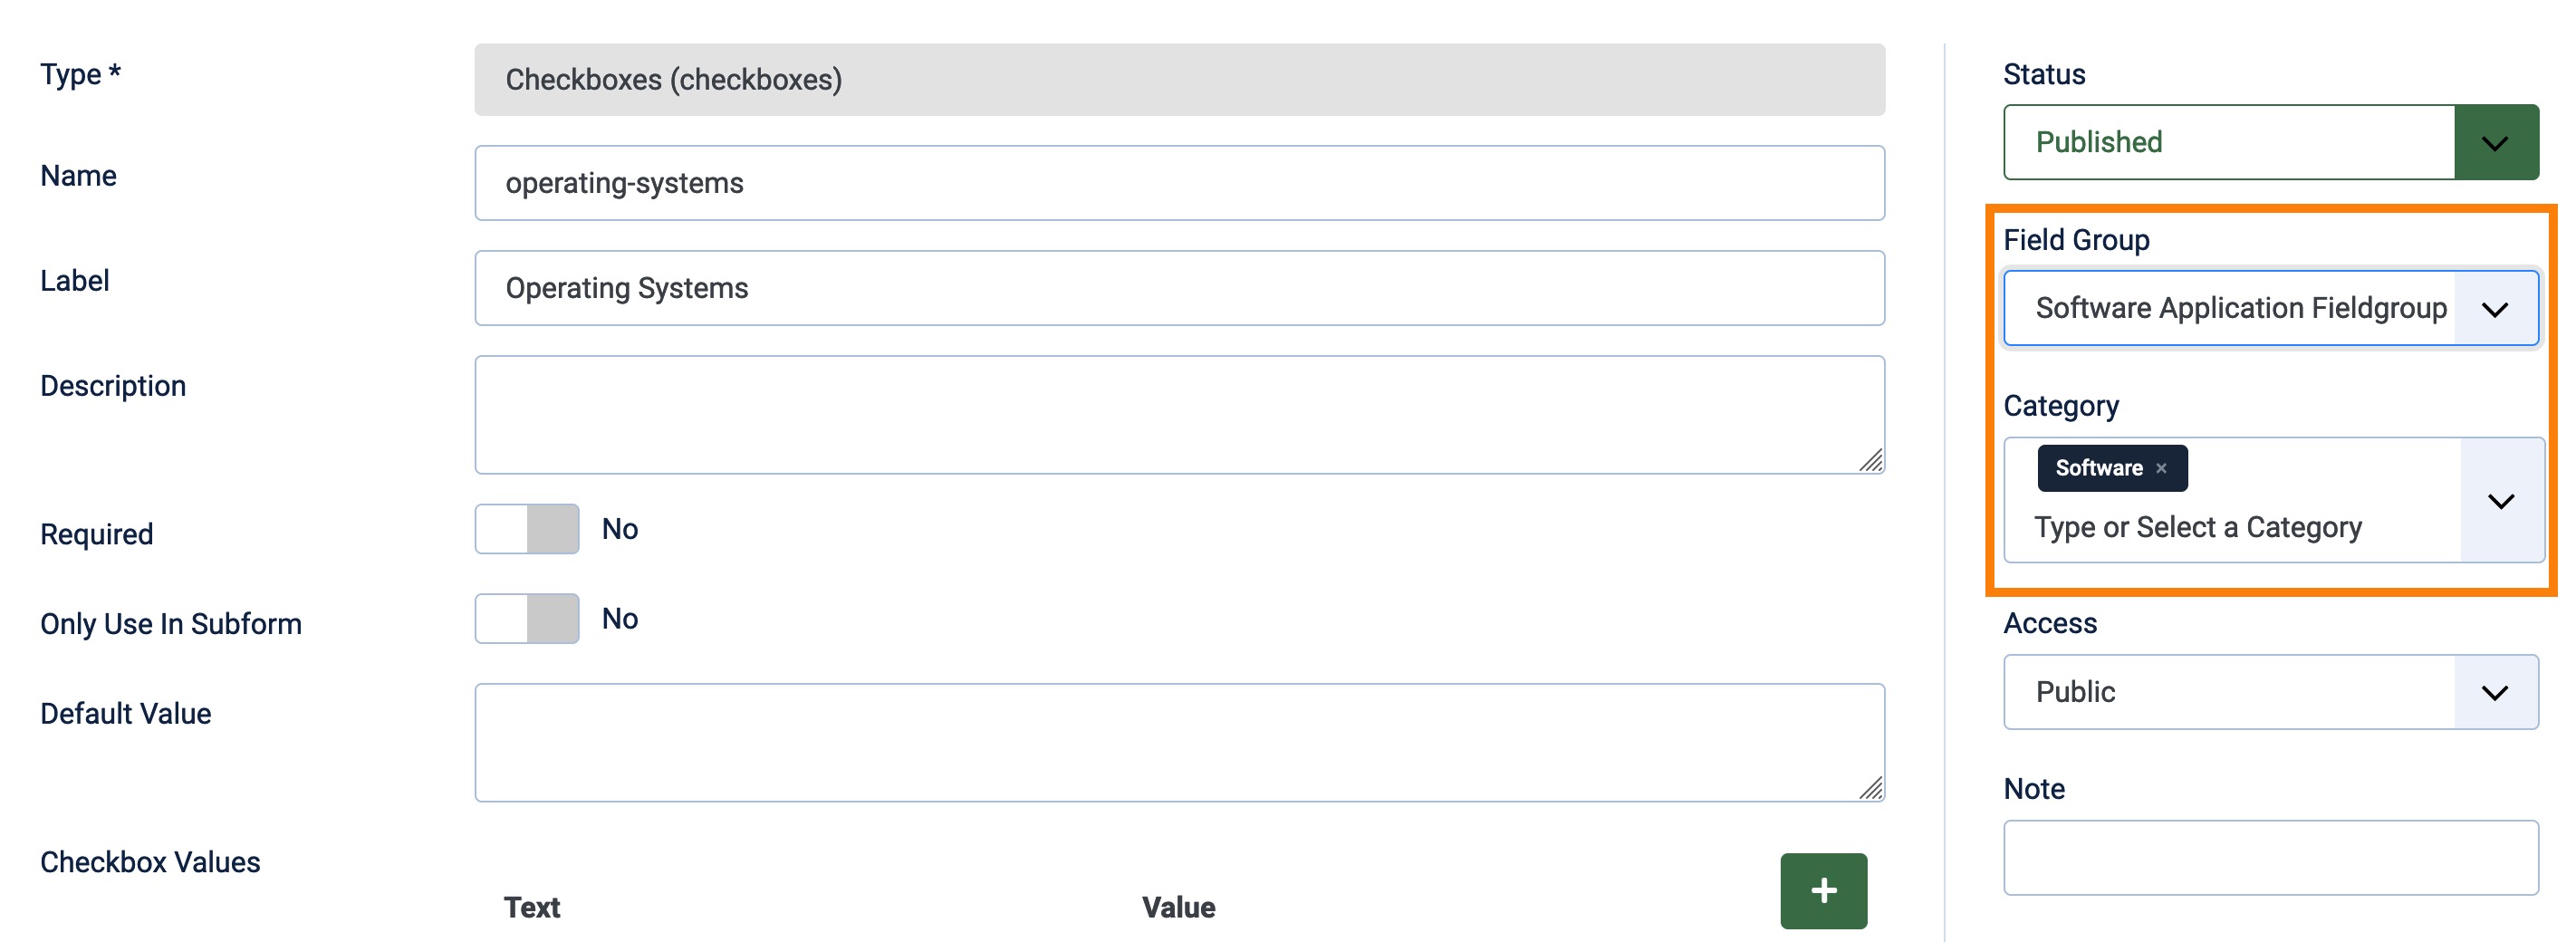
The "Category" option controls the display of the field. Here you select article categories for which this field is relevant. By default the option "All" is set. But if you work with various categories and fields you should really set a filter here and select the article categories in which the field is relevant. This may also improve the loading times in the backend, because Joomla! then really only has to load the fields that are really needed. In my case I choose the category "Software" and remove "All".
3 | Conclusion
And that's actually it. If you now create a new article you will not see the tab "Fields" nor the tab "Software Application Fieldgroup". Only when you select the article category "Software" for the article, the page reloads briefly and the tab "Software Application Fieldgroup" with the corresponding fields appears. If we now fill an article with the information needed and save it, we can then see the data either directly in the article (depending on the template at a different position above or below the article text). In addition, we can also access the contents of the fields with extensions such as the Exposer or the WidgetsBox. More about this in another article.
4 | Bonus
If you want to store information in custom fields, but do not want to display them in the actual article, I can tell you another trick. If you edit a customfield under Content --> Fields you can define in the tab "Options" in the area "Render Options" if and where the field value should be rendered (displayed). You can choose the option "Do not automatically display". This way you can store field values, but they will not be displayed within the article. Extensions like the Exposer or the WidgetsBox can still access the values and display them in the module itself, for example within the grid element for the corresponding article and / or in the case of the WidgetsBox for the creation of the "structured content" for search engines.
And that's really it for today, the little video here shows you again everything step by step, including some pitfalls:


